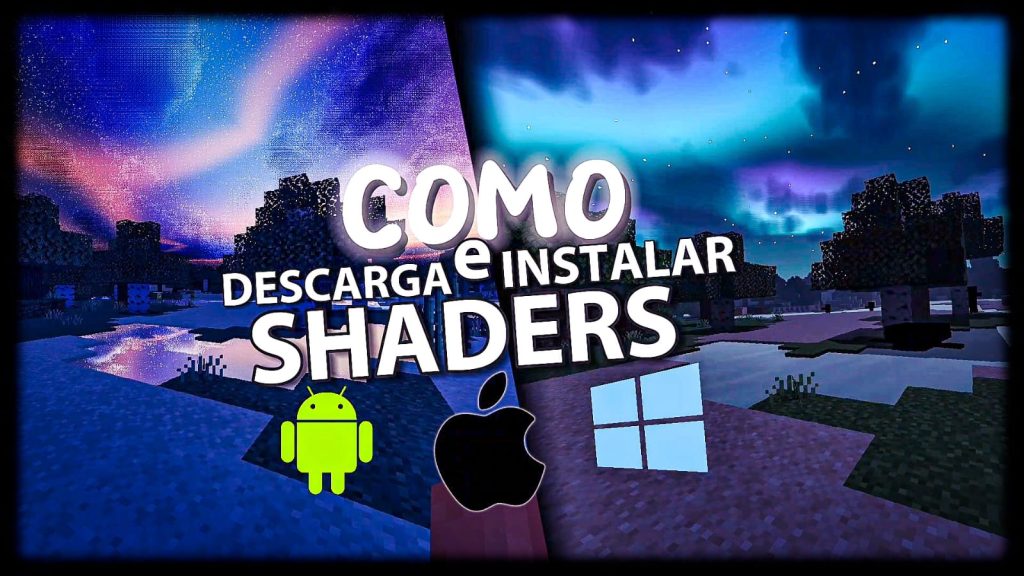
Hey there 😅 If you landed here, it’s probably because—like me—you got a little bored of seeing your Minecraft world looking kind of flat, with stiff water, no cool shadows, and skies that look like they were drawn in Microsoft Paint.
No worries, my dude or dudette, ’cause today I’m gonna walk you through, step-by-step and stress-free, how to download and install shaders in Minecraft Bedrock or Pocket Edition 1.21, whether you’re playing on Windows, Android, or iOS. So if you’re like me, kind of shy but super curious, get comfy and let’s do this!
🧱 What are shaders and why is everyone talking about them?
Okay, first things first. Shaders are like magic filters that make your game look AMAZING. Imagine your Minecraft is like plain white rice… it works, but it’s boring. Now imagine adding some spicy beans, a fried egg, and a cold soda. That’s what shaders do! 🎇
With shaders, you’ll get:
- Realistic shadows and lighting
- Water that actually moves and has waves
- Gorgeous skies with clouds and sunsets
- Smooth lighting transitions from day to night
- A whole vibe upgrade—it’s basically Minecraft with makeup and good lighting 😅
📱 ANDROID – How to install shaders in Minecraft Bedrock 1.21
Alright, if you play on Android, this is honestly super chill. Let me break it down for you in a way that won’t fry your brain or your phone.
✅ Step 1: Download a shader pack
- Go to mcpedl.com (safe and trusted site).
- Search for “Shaders for Minecraft Bedrock 1.21.”
- Pick one that looks nice and make sure it’s a
.mcpackor.zipfile.
✅ Step 2: Use ZArchiver (it’s free on Play Store)
- Open ZArchiver and go to your Downloads folder.
- If the shader file is
.zipor.rar, extract it there. - If it’s a
.mcpack, just tap it and Android should ask what app to use—choose Minecraft and it’ll import automatically.
✅ Step 3: Open Minecraft and activate the shader
- Open Minecraft.
- Go to Settings → Global Resources, or go into a world → Resource Packs.
- Activate the shader and that’s it.
🎉 Boom! Now your world looks like a Studio Ghibli movie. Just don’t get so amazed that you walk into lava.
💻 WINDOWS 10/11 – Installing shaders in Minecraft Bedrock
Okay, PC players, this one’s for you. You don’t need to be a tech wizard to do this, I promise. Just follow along and you’ll be fine.
✅ Step 1: Download a shader pack
- Like on Android, go to mcpedl.com or a trusted YouTube link.
- Download a
.mcpackor.zipfile.
✅ Step 2: Open the .mcpack file
- If it’s a
.mcpack, just double-click it. Minecraft will open and install it automatically. - If it’s a
.zip, extract it using WinRAR or 7-Zip. - Find the
.mcpackinside and double-click it.
✅ Step 3: Activate the shader
- Open Minecraft Bedrock.
- Go to Settings → Global Resources, or choose a world → Resource Packs.
- Turn it on and enjoy the view.
🚨 Heads-up: Some shaders don’t work well if your PC isn’t very powerful. If your game turns into a laggy mess, try a lighter shader pack.
🍏 iOS – Installing shaders on iPhone or iPad (yes, it works!)
Alright, not gonna lie, this part is trickier. But hey, it’s possible. I swear on my sleepy cat.
✅ Step 1: Download “Documents” or “iZip” from the App Store
- These apps help manage and unzip files on iOS.
- You’ll need one of these to handle
.mcpackor.zipfiles.
✅ Step 2: Find iOS-compatible shaders
- Use mcpedl.com again or a reliable source.
- Download a shader pack that’s labeled as working with iOS.
✅ Step 3: Open it with Minecraft
- After downloading the
.mcpack, tap “Open in…” and select Minecraft. - Minecraft will launch and install the shader automatically.
✅ Step 4: Activate it in-game
- Go to Settings → Global Resources or choose a world and go to Resource Packs.
- Enable the shader and go enjoy the new vibes!
🐢 If it crashes or doesn’t look right, don’t worry. Just delete the shader and try a different one—some iOS shaders are picky.
🧠 Pro tips from a shy Minecraft addict
- Don’t download shaders from sketchy websites—trust me, it’s not worth getting a virus.
- Some shaders only change the sky, others go full-blown cinematic. Read the description carefully before installing.
- If Minecraft starts acting weird or slow, just remove the shader and try a lighter one.
- Remember: Bedrock doesn’t support shaders natively like Java does. So some limitations are normal.
🎮 What now?
Now? Go enjoy that beautiful new world, parcero! 💥 You have no idea how pretty your house made of dirt looks with the right lighting. I literally spent hours just watching the sunset reflect on the water like a weirdo. 😅
I hope this guide helped you out, made you smile, or at least saved you from smashing your device. If you want more chill and simple Minecraft guides like this one, just let me know. I gotchu.
So, now that you’ve got the basics down and your Minecraft world is already looking fresher than a brand-new pair of sneakers, let’s level things up. 🤓
Here’s Part 2, where I’ll show you the best shaders you can download depending on your device, plus how to fix problems when things go wrong (because, well, they do), and a few extra tips so you don’t get lost along the way.
Let’s gooo! 🚀
🌟 Best Shaders for Minecraft Bedrock 1.21
I’ve tested a bunch of shaders (and crashed my game more times than I care to admit), so these are some of the safest, smoothest, and prettiest shaders you can use—without your game turning into a slideshow.
✅ ANDROID
1. Haptic Shader
- 🔹 Super smooth lighting
- 🔹 Wavy leaves and water
- 🔹 Works well on mid-range phones
- 🔹 Download: mcpedl.com
2. YoFPS Shader
- 🔹 Made for low-end devices
- 🔹 Adds soft lighting and clearer skies
- 🔹 Lightweight and stable
3. ESTN Shaders
- 🔹 Customizable settings
- 🔹 Realistic lighting and shadows
- 🔹 Might lag on older phones, though
✅ WINDOWS 10/11
1. RenderDragon RTX Shaders (For RTX Users Only)
- 🔹 Full ray tracing support
- 🔹 Stunning reflections and shadows
- 🔹 Need an RTX graphics card (duh 😅)
2. Fogless Shader
- 🔹 Makes the game bright and super clean
- 🔹 Doesn’t mess with performance
- 🔹 Great for survival mode
3. Bicubic Shader
- 🔹 Compatible with most Bedrock builds
- 🔹 Clean colors, better contrast
- 🔹 Simple but impactful
✅ iOS
1. Parallax Shader (iOS Lite)
- 🔹 Very subtle changes—mostly lighting
- 🔹 Works well on newer iPhones (11 and up)
- 🔹 iOS is tricky, so don’t expect crazy changes
2. Bare Bones RTX Style
- 🔹 It’s more of a texture pack, but gives a clean RTX-like look
- 🔹 Light on performance
- 🔹 Works well with global resources
🚨 Common Shader Problems & How to Fix Them
Let’s be honest… sometimes stuff goes sideways. So here are the most common issues and how to handle them like a pro:
1. Shader doesn’t appear in Minecraft
- Make sure the file ends in
.mcpack - Reboot Minecraft after installing
- On PC, double-check you’re on Bedrock, not Java Edition
2. Game crashes or freezes
- The shader might be too heavy for your device.
- Try a lighter one (like YoFPS for Android or Fogless for PC).
- Delete the shader from the resource packs folder.
3. Black screen or weird textures
- Some shaders don’t work well with the new RenderDragon engine (used in Minecraft 1.18+).
- Look specifically for shaders that say “RenderDragon compatible.”
4. It installs but doesn’t do anything
- Yeah… not all shaders change everything.
- Some only tweak lighting or skyboxes—check the shader description again.
- Try it in different worlds to test.
💡 Extra Shader Tips (For True Minecraft Vibes)
Now that you’re rocking those shaders like a pro, here are some lil’ extras to really take your world to the next level:
🎨 Pair shaders with a resource pack
- Try Bare Bones, Faithful 32x, or ModernArch for cleaner textures.
- Makes the lighting effects stand out even more.
📷 Use shaders for epic screenshots
- Press F2 on PC or use screen capture on mobile.
- Build something cool, wait for sunset, and BOOM—Instagram material.
☁️ Test different weather
- Rain looks AMAZING with some shaders.
- Try toggling weather with
/weather rainor/weather thunder.
🧪 Try in Creative mode first
- Test out how it affects your builds before using it in Survival.
- You don’t want to fight zombies while lagging like crazy 😬
😅 One Last Thing…
Look, I know shaders aren’t essential to play Minecraft… but bro, once you use them, going back to vanilla feels like going from Netflix back to VHS tapes. It just hits different. 💔
Just remember: take your time testing, keep your worlds backed up just in case something breaks, and don’t stress too much if something doesn’t work on the first try. We’re all learning, and it’s okay to mess up once or twice. Or fifteen times… like me 😅
If this helped you even a little bit, I’m super glad. And if you want a Part 3 (maybe showing step-by-step WITH images or video links), just tell me and I’ll be right here—quiet, nerdy, and happy to help.
